HPC Quick Start Guide
Hello and welcome to the HPC Quick Start Guide. The goal of this document is to get readers up and running on the system as quickly as possible.
How to access HPC
Get an Account
The first thing that you need to do is make sure that you have an account on the HPC. If you are a student who has been tasked with using the HPC, it is very possible that you have been given an account already.
If not, you will need to submit an account request here.
Get the Software
Once you have access, you need software for logging into a remote server and for transferring files to and from. This program is called an SSH client and there are many to choose from, depending on your operating system. Mac and Linux users will have a client installed by default and can learn how to find and use them here, but Windows users will have to install something. We will use PuTTY and WinSCP for this tutorial.
-----This next section is for Windows only-----
How to initiate a secure terminal in Windows.
- Before we start, we need to download PuTTY from the internet.
- Link: https://www.chiark.greenend.org.uk/~sgtatham/putty/latest.html
- A screen similar to this should appear, Click Next.
- Click Next if you have admin on your PC. Otherwise pick a location under your profile.
- You will probably want a desktop icon for this so click the Add shortcut item add it to the install, then click Install.
- If everything went well you will notice the PuTTY icon on your desktop.
WinSCP Secure File Transfer
Download WinSCP from here: https://winscp.net/eng/download.php
- You will pick either an install for all users or just yourself. If you do not have admin then use the one just for you.
- Use the default install location and then pick the default commander style for the layout.
- Click next and until the it starts the install
- After the install is finished, if we double-click WinSCP on the desktop, it will open a window.
- A window similar to this should open, with three options, File Protocol, Host Name, Port Number, User name and password.
- Now to connect to these remote computers we need a name that could look similar to this:
- Type crest-login.tamucc.edu as the hostname
- As for your login, firstname.lastname@tamucc.edu (typically you would want to use first initial and lastname such as flastname followed by a number if needed) or username1@islander.tamucc.edu
- Whatever goes before the @ will be your User Name which will be your islanderid
- then enter your password
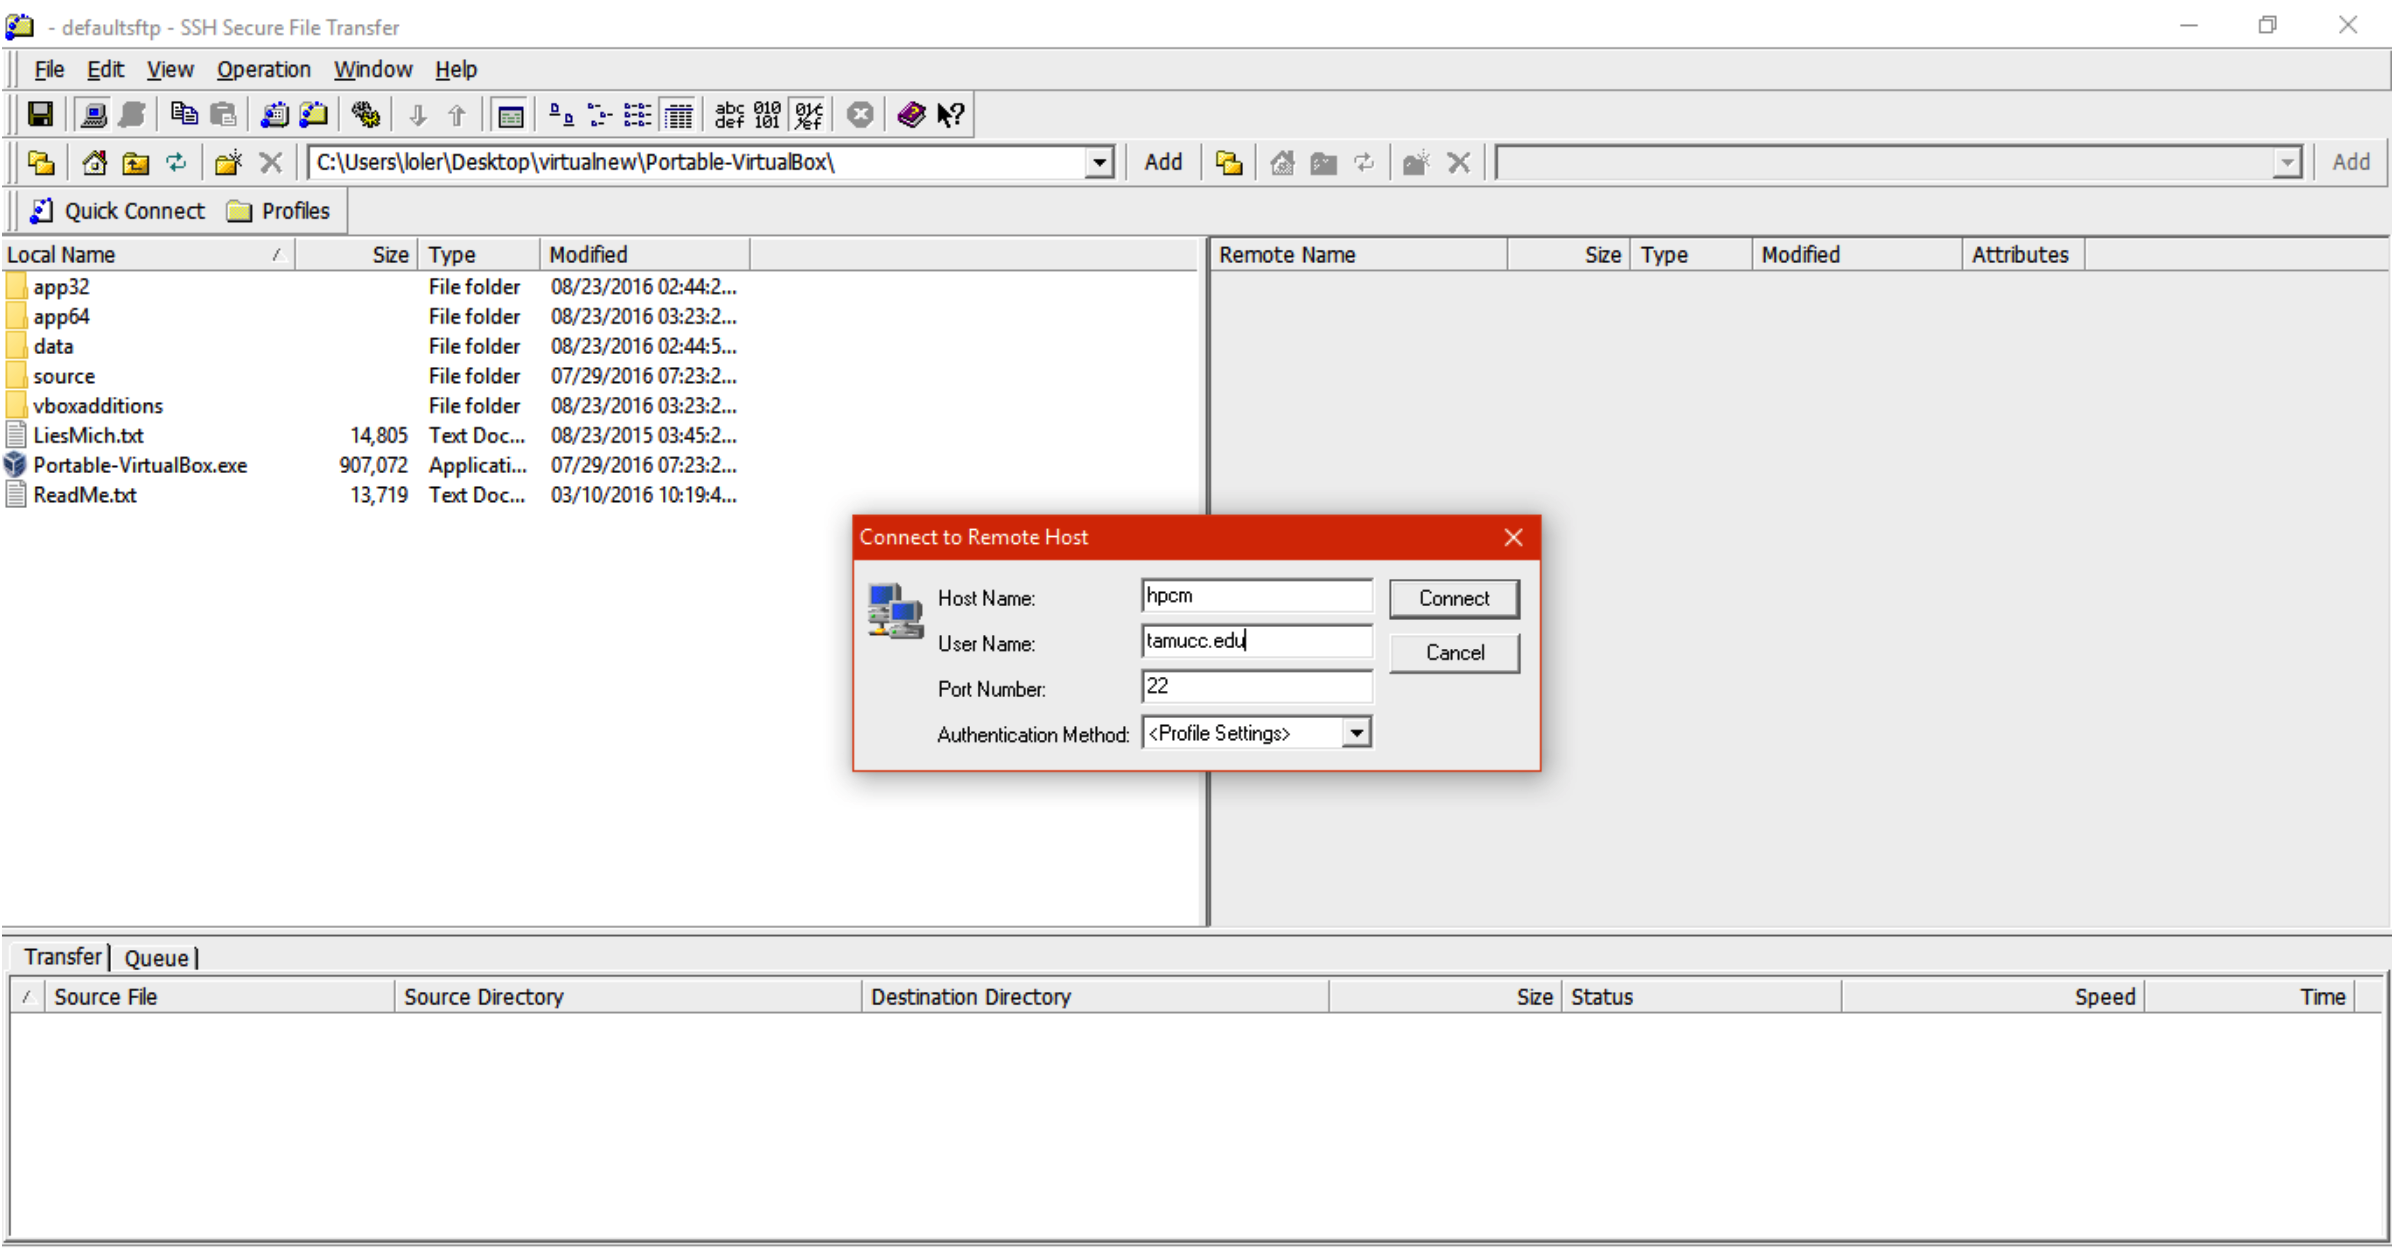
- It should look similar to this. We will not be dealing with the Port Number, and the File Protocol since it won’t be needed for this tutorial.
- Click on Login.
- An agreement could appear after clicking yes, just click ok.
- This new window should appear at the end.
- The panel on the left is the files on your computer and the panel on the right is the files on the crest hpc.
- Now you are able to grab, drop, and edit files from your local to your remote computer by just using your mouse.
-----End of setup for Windows-----
Get on Campus Network
Now that you have a client, you are almost ready to connect. However, the address is protected from users outside of the university. This means that you have to connect to the campus VPN before logging into HPC if you are not on campus.
- Note: computer sciences students can pivot from within the hpcm server.
See this guide to getting on the campus virtual private network.
At this point, you should have the following:
- Account on the HPC
- SSH capable terminal and file transfer client
- Ability to get on the campus network
How to Load Software
Once you log into the HPC as described above, you need to load software before you can use it.
List available software
Code: module avail
Look through that list for the software that you want. Often multiple versions of the same program exist.
Load the software
Code: module load <program>
Replace <program> with the actual program name exactly as it is named from the output of the last command.
Example:
Code: module load samtools/1.2
List your loaded software
Code: module list
Should see whatever programs you have loaded, as well as some default programs.
How to Run Jobs
We will run an example R script as a job. When running the script, we will make use of the multiple nodes and cores on the system for faster computation.
This example is adopted from this: http://umbc.edu/hpcf/resources-tara-201 ... -run-R.php
Load needed modules
Code: module load R/openmpi/intel/3.2.2\
Transfer R script to HPC
Using the method for transferring files over SSH as previously described, transfer this R script.
hello.R
Code:
library(Rmpi)
mpi.spawn.Rslaves(needlog = FALSE)
mpi.bcast.cmd( id <- mpi.comm.rank() )
mpi.bcast.cmd( np <- mpi.comm.size() )
mpi.bcast.cmd( host <- mpi.get.processor.name() )
result <- mpi.remote.exec(paste("I am", id, "of", np, "running on", host))
print(unlist(result))
mpi.close.Rslaves(dellog = FALSE)
mpi.exit()
Transfer SLURM script to HPC
As before, transfer this SLURM script. A SLURM script using #SBATCH commands to direct the HPC.
After each #SBATCH command, there is a comment explaining its purpose.
The final line starts with "srun" and is used to actually run R on the HPC.
Always put "srun" in front of the command when you run programs on HPC, or else it is just running on a single machine. This kills the point of using HPC.
test.slurm
Code:
#!/bin/bash
#SBATCH -J R_hello 		# Name of the job
#SBATCH -o test.out 		# Name of file that will have program output
#SBATCH -e test.err 		# Name of the file that will have job errors, if any
#SBATCH -N 4  			# Number of nodes ( the normal cluster partion has 22 total )
#SBATCH -n 8  			# Number of cores ( my test allocated 2 per node )
#SBATCH -t 00:30:00  		# Time limit
#SBATCH -p normal  		# Partition
				# (see available partitions and their number of nodes with sview command )
srun -N 4 -n 8 R --no-save < hello.R
Note: You will need to specify qos on the Crest cluster when running jobs on the non normal high memory and gpu partitions:
for bigmem:
#SBATCH -p bigmem
#SBATCH --qos highmem

for ultramem:
#SBATCH -p ultramem
#SBATCH --qos highmem

for gpu:
#SBATCH -p gpu
#SBATCH --qos gpu
#SBATCH --gres=gpu:1

for multi-gpu:
#SBATCH -p gpu-res-01
#SBATCH --qos gpu-res-01
#SBATCH --gres=gpu:2

For mmlti-GPU access, please email hpc-support@tamucc.edu
Execute Script
Normally when you run programs, you just type the name of the program and any parameters. But on the HPC, we use an advanced system of job submission that handles sending out portions of code and data to the many nodes that make up the cluster. Because of this, you run a command that tells the system to execute your job script:
Code: sbatch test.slurm
View Results
This job merely printed out information, so it should complete almost as soon as you submit it.
The output of the job did not print to your terminal, but rather to two output log files. One file contains all the normal output and the other has error messages.
View the output:
Code: more test.out
- remember to press "q" to quit reading and return to the terminal.
View the errors
Code: more test.err
- remember to press "q" to quit reading and return to the terminal.
More than likely there are a number of ignorable system errors. But when your own scripts fail, this is where to look for information on why.
Sometimes these error messages are too tech speak to deal with, but you will want to copy and paste them when asking for help in the forum.
Congratulations! You have logged into the system, loaded the appropriate software, transferred over your data, submitted the job, and viewed the results.
This should cover what you need to get started working within the HPC environment. Of course, your own software will have particular needs regarding setting up SLURM scripts and such. Don't hesitate to ask for help on the forum.
You can find much more information here.
Jupyter Notebook
To access jupyter notebook on the crest hpc go to this link: https://crest-login.tamucc.edu:8000/hub/login
Enter your login info and you will be brought the the main Jupyter Notebook page.

When the notebook loads, click on the group of green circles in the bottom left as shown:

Next, click on the plus sign next to "Python 3.9 via SLURM"

It should bring up a menu that lets you set the modules to load the name of the job and the partition to use:

Pick whatever options you need and then click create to create an icon on your Jupyter page that you can use to run the notebook with the settings that you entered previously.